Why DIY Teeth Whitening Gel for Trays Needs Expert Guidance
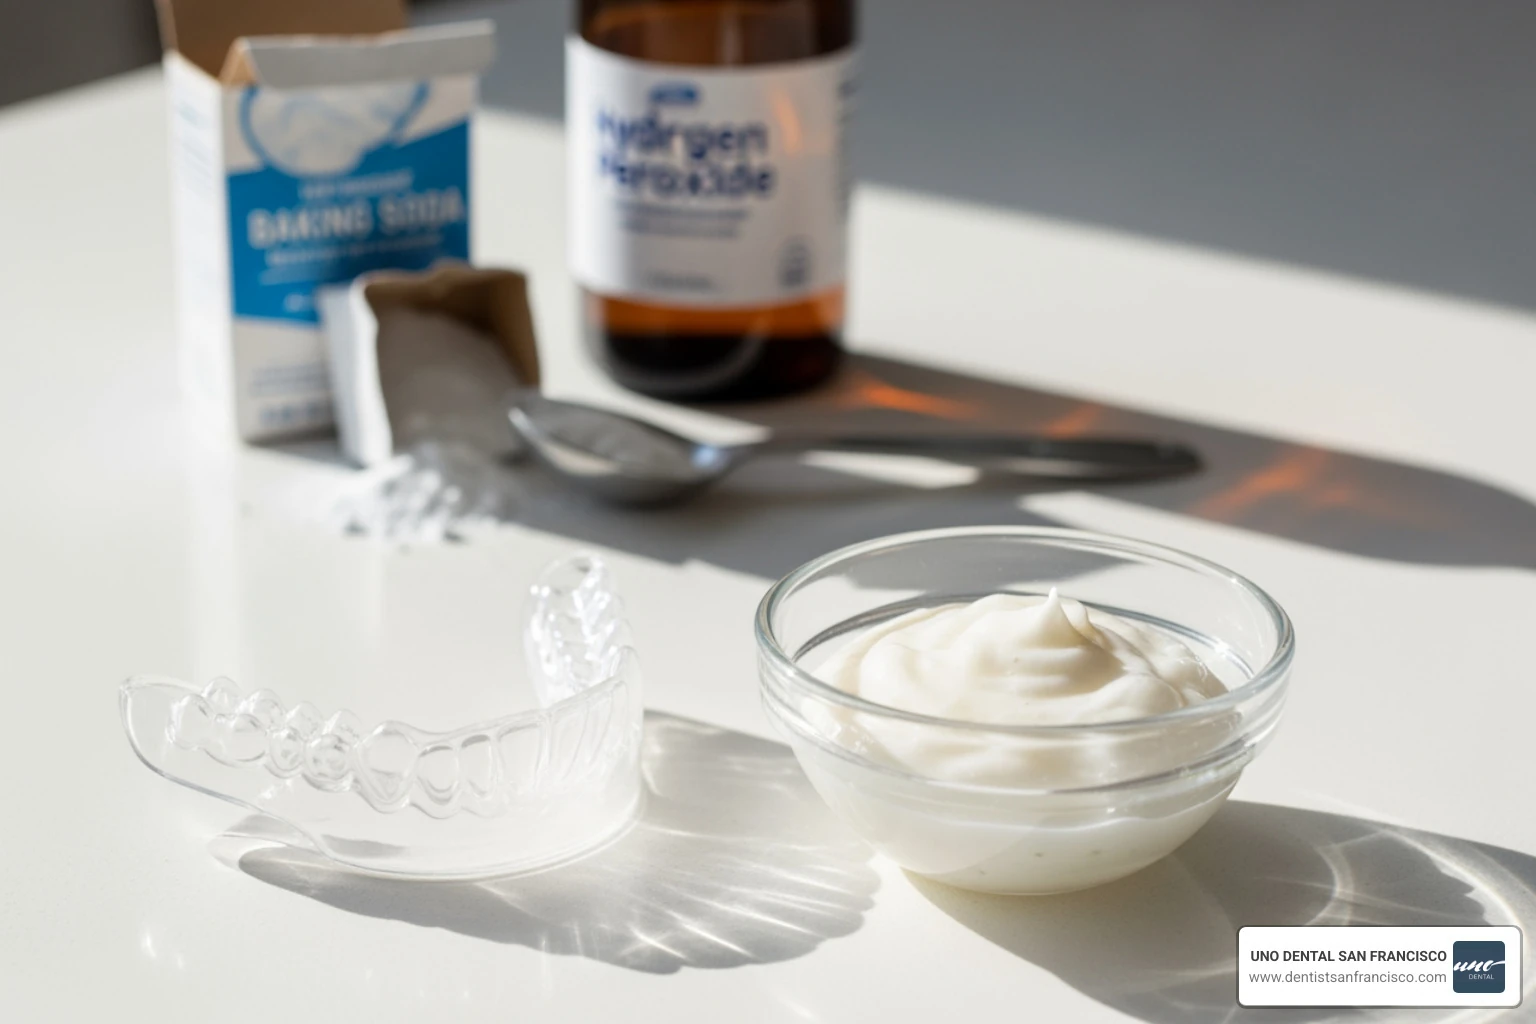
DIY teeth whitening gel for trays is a popular search, but before you mix ingredients in your kitchen, it's critical to understand the risks. While the internet is flooded with recipes promising whiter teeth from household items, these methods can cause painful sensitivity, chemical burns, and permanent tooth damage.
The hard truth is that ingredients like lemon juice, baking soda, and charcoal can erode your enamel, which never grows back. The safest and most effective way to whiten at home involves professional guidance.
The best "DIY" approach is actually a professionally supervised one:
- Get custom-fitted trays from a dentist to prevent gel leakage and gum burns.
- Use dentist-dispensed whitening gel at a safe, effective concentration.
- Follow professional instructions for application and wear times.
At UNO DENTAL SAN FRANCISCO, we've helped hundreds of patients achieve brilliant smiles safely with professional at-home whitening systems. We've also treated the painful consequences when diy teeth whitening gel for trays goes wrong. This guide will show you the safest path to a dazzling smile while protecting your dental health.
 and intrinsic stains (discoloration within the inner dentin layer of the tooth), with a cross-section diagram of a tooth illustrating both types of staining and how peroxide-based whitening agents work by oxidizing stain molecules through the enamel - diy teeth whitening gel for trays infographic 2_facts_emoji_light-gradient")
The Science Behind Whitening: What's Really in the Gel?
Effective at-home whitening gels rely on scientifically-proven ingredients at controlled concentrations. Meanwhile, many popular DIY ingredients can do more harm than good.
Common Bleaching Agents Explained
The only ingredients proven to change tooth color are peroxide-based bleaching agents. They work by breaking down the molecules that cause stains.
-
Hydrogen peroxide is a direct bleaching agent that penetrates enamel to remove surface and deep stains through a process called oxygenation. According to the American Dental Association, it releases oxygen molecules that break the chemical bonds of stains, making them less visible. Professional in-office treatments use higher concentrations (15% to 38%) under controlled conditions.
-
Carbamide peroxide is common in at-home gels. It breaks down into hydrogen peroxide and urea when it contacts saliva, releasing the active ingredient more slowly for gentler, prolonged whitening. A 10% carbamide peroxide solution is roughly equivalent to 3.6% hydrogen peroxide.
Many professional gels also include potassium nitrate to combat sensitivity. These compounds permeate the entire tooth, which is why gel in custom trays is so effective. Our At Home Dental Whitening Guide explains this process in more detail.
The Dangers of "Natural" DIY Ingredients
"Natural" whitening solutions often sound harmless but can wreck your teeth.
-
Lemon juice and other citric acids are highly acidic. They don't lift stains; they dissolve your enamel. Once enamel is gone, it's gone forever, leading to sensitivity and a duller, more yellow appearance as the underlying dentin shows through. Research on acidic solutions confirms this irreversible damage.
-
Baking soda and activated charcoal are abrasive. They physically scrub away surface stains, but regular use also wears down your enamel, like using sandpaper on your teeth. This weakens teeth, increases sensitivity, and makes them more prone to cavities. For safer alternatives, consider Non Abrasive Teeth Whitening options.
The pattern is clear: these methods either chemically dissolve or physically abrade your enamel, leading to permanent damage.
Safe Concentrations for At-Home Use
Concentration is key for at-home whitening. The FDA and ADA recommend 10% carbamide peroxide (equivalent to about 3.6% hydrogen peroxide) as the gold standard for at-home use with custom trays. This concentration effectively whitens over time while minimizing irritation and sensitivity.
In-office treatments use higher concentrations (15-38% hydrogen peroxide) because a dentist can protect your gums and monitor the application. Over-the-counter products with higher percentages increase the risk of side effects without professional supervision. Our approach at UNO DENTAL focuses on Dentist Recommended Teeth Whitening solutions that balance effectiveness with safety, using professional-grade gel at safe concentrations with custom-fit trays.
The Hidden Dangers of a Purely DIY Approach
Mixing your own whitening concoctions without professional guidance can lead to painful and sometimes permanent damage. If you have an undetected cavity, crack, or leaking filling, bleach can seep into the tooth's nerve, causing severe pain that may require emergency treatment or a root canal.

Gum and Soft Tissue Irritation
One of the most common complaints from improper diy teeth whitening gel for trays is gum irritation. Trays that are not custom-fitted rarely fit well, allowing whitening gel to leak and cause chemical burns on your delicate gum tissue. Overfilling trays makes this problem worse.
Symptoms include redness, soreness, and a stinging sensation. In more severe cases, you may see white spots on your gums, which are chemical burns. While usually temporary, they indicate significant tissue damage. Our Ultimate Teeth Whitening Sensitivity Guide offers strategies for managing irritation, but prevention with custom trays is always best.
Risk of Permanent Tooth Damage
Unlike gum irritation, which usually heals, damage to your tooth structure is often irreversible.
-
Enamel Abrasion: "Natural" ingredients like charcoal or baking soda scrub away your thin layer of tooth enamel. Once worn away, enamel does not regenerate. This exposes the yellowish dentin layer underneath, making teeth look more discolored and feel sensitive.
-
Increased Tooth Sensitivity: When enamel erodes, the tiny tubules in your dentin become exposed, leading directly to the tooth's nerve. This can trigger sharp pain from hot, cold, or even sweet foods. Pre-existing conditions like cavities or gum recession dramatically intensify this sensitivity.
-
Nerve Damage: The most severe risk is bleach penetrating an undetected cavity or crack and reaching the nerve. This can cause excruciating pain and may require a root canal or extraction. A professional check-up before whitening is essential to avoid these complications. We provide guidance on Teeth Whitening Aftercare Sensitivity to help prevent these issues.
Uneven and Blotchy Results
Beyond health risks, a purely DIY approach often delivers disappointing aesthetic results. Ill-fitting trays are notorious for creating a splotchy or striped appearance.
Because they don't conform to the natural curves of your teeth, ill-fitting trays fail to make full contact with all surfaces. This leaves areas around the gum line and between teeth untouched, creating a "zebra-striped" effect or a yellow frame around an otherwise whitened tooth. Achieving a consistently white smile requires the even application that only custom-fitted trays can provide. For more on achieving professional results, explore our guide on Best Teeth Whitening Techniques.
A Safer How-To: Using Approved DIY Teeth Whitening Gel for Trays
The safest and most effective "DIY" method uses a professionally dispensed, low-concentration whitening gel with trays custom-made for your teeth. This approach combines at-home convenience with the safety and efficacy of professional dental care.

Step 1: Get Your Custom-Fit Trays
Custom-fitted trays are the foundation of safe, effective at-home whitening. Your journey begins with a dental consultation at our San Francisco office. This is a critical safety step where we check for cavities, gum disease, or cracks that could make whitening painful.
Once your mouth is confirmed healthy, we take precise digital impressions of your teeth. We use these to fabricate trays that fit your teeth perfectly. This snug seal prevents gel leakage, protecting your gums and ensuring consistent whitening. Trays that are not custom-made can't match this precision and often lead to irritation and uneven results. Investing in Custom Fit Teeth Whitening Trays from UNO DENTAL is an investment in your oral health and the quality of your smile.
Step 2: Applying Your Professional At-Home Gel
With your custom trays and dentist-approved gel, precision is key for the best results.
- Start Clean: Brush and floss thoroughly before each session to remove plaque and ensure the gel makes direct contact with your enamel.
- Apply the Gel: Use a small drop of gel for each tooth. Place a thin, continuous bead into the front-facing side of the tray. You only need about one-third to one-half of a syringe per tray.
- Avoid Overfilling: More gel does not mean faster whitening. Too much will squish out onto your gums, causing irritation and wasting product.
- Seat the Tray: Gently place the tray over your teeth. Wipe away any excess gel from your gums with a clean finger or tissue to prevent irritation.
Our Teeth Whitening Gel Ultimate Guide offers more detailed application tips.
Step 3: Wear Time and Treatment Duration
Follow your dentist's specific instructions, as wear time depends on gel concentration and your sensitivity.
- Lower concentrations (e.g., 10% carbamide peroxide) are often worn for 8-10 hours or overnight.
- Higher concentrations (e.g., 35% carbamide peroxide) require shorter wear times, typically 20-30 minutes per day.
Most treatments run for 7 to 14 consecutive days. Your dentist will map out the optimal schedule. If you experience sensitivity, take a break for a day or two. Consistency is more important than intensity. Our At Home Teeth Bleach guide provides more details on protocols.
Step 4: Cleaning and Storing Your Equipment
Proper care protects your investment and ensures your system remains effective for future touch-ups.
- After Use: Rinse your mouth with lukewarm water. Rinse your trays with cool water (hot water can warp them) and gently clean them with a soft toothbrush.
- Storage: Store your clean, dry trays in their protective case in a cool, dry place.
- Gel Care: Most whitening gels should be refrigerated to maintain potency. Check the instructions and always reseal syringes tightly.
Following these steps will keep your diy teeth whitening gel for trays system ready for use. For more post-treatment tips, see our Teeth Whitening Aftercare Guide.
What to Do When Whitening Goes Wrong: Managing Side Effects
Even with professional products, some people experience temporary side effects. According to the ADA, sensitivity after whitening is usually temporary and manageable. Knowing how to respond is key to a comfortable experience.
Identifying Tooth Sensitivity and Gum Irritation
Be aware of your body's signals. Tooth sensitivity can feel like sharp "zingers" or a dull, persistent ache, often triggered by cold air or sweet/sour foods. Gum irritation may appear as redness, tenderness, or temporary white spots where the gel has contacted the tissue. These symptoms are usually temporary and indicate your routine needs adjustment. If discomfort is severe or persistent, contact our team. You can learn more on managing sensitivity from clinical studies.
How to Alleviate Discomfort
If you experience sensitivity or irritation during your diy teeth whitening gel for trays treatment, don't push through the pain. Try these strategies to restore comfort:
- Take a Break: Pause your treatment for a day or two to allow your teeth and gums to recover.
- Shorten Wear Time: When you resume, reduce your wear time (e.g., from 60 minutes to 30). You can gradually increase it as you feel comfortable.
- Use Desensitizing Toothpaste: Products with potassium nitrate can block the pathways to your tooth's nerve. Start using it a few days before resuming whitening.
- Avoid Temperature Extremes: Stick to lukewarm food and drinks and avoid highly acidic foods that can exacerbate discomfort.
- Check Your Technique: Ensure you're not overfilling the tray and are wiping away any excess gel from your gums.
If discomfort persists after trying these tips, stop the treatment and contact our San Francisco office. Your comfort and oral health are our priority. For more comprehensive advice, see our Dental Teeth Whitening Complete Guide.
Frequently Asked Questions about At-Home Whitening
Here are answers to common questions we hear from our patients in San Francisco about at-home whitening with custom trays.
Can I use DIY teeth whitening gel for trays on crowns, veneers, or fillings?
No. Whitening gels only work on natural tooth enamel. Dental restorations like crowns, veneers, and fillings will not change color. This can create a noticeable color mismatch between your natural teeth and dental work. If you have restorations in your smile zone, consult with us at UNO DENTAL first. We can help you plan a comprehensive approach, which may involve whitening your natural teeth and then replacing older restorations to match your new, brighter shade for a uniform result.
How long will my teeth whitening results last?
The longevity of your results depends heavily on your lifestyle and can last for a year or more. Regular consumption of staining foods and drinks (coffee, tea, red wine) and smoking will cause new stains to accumulate more quickly. Good oral hygiene, including brushing, flossing, and professional cleanings, helps maintain your bright smile.
We recommend periodic touch-up treatments with your custom trays to maintain your desired shade. These shorter, less frequent applications are a convenient and cost-effective way to keep your smile bright.
Is teeth whitening safe for teenagers?
Professional guidance is essential here. The American Academy of Pediatrics recommends waiting until all permanent teeth are fully erupted. Young teeth have larger pulp chambers, making them more susceptible to sensitivity from whitening agents. It's also important to determine if discoloration is due to staining or an underlying dental issue.
At UNO DENTAL San Francisco, we recommend a thorough consultation for any teenager considering whitening. We'll assess their oral health and dental maturity to determine if whitening is a safe and appropriate option. Our priority is their long-term dental health. For more information, refer to our guide on Safe Teeth Whitening for Kids.
Conclusion: For a Truly Dazzling Smile, Trust the Professionals
The allure of a quick, homemade whitening solution is strong, but the risks of using unverified DIY recipes are significant. Ingredients like lemon juice and charcoal can cause irreversible enamel damage, gum irritation, and disappointing, blotchy results. Your smile is too precious to gamble with.
The safest and most effective path to a brighter smile is a professionally supervised at-home whitening system. This approach combines the convenience you want with the safety and brilliant results that only professional dental care can provide. With custom-fitted trays and dentist-approved gel from UNO DENTAL San Francisco, you protect your teeth while achieving a predictable, uniform smile.
At UNO DENTAL, we focus on individualized, high-tech care. We're ready to create a personalized whitening plan that puts your health first. If you're ready to whiten your teeth safely and effectively, let us help you achieve the dazzling, healthy smile you deserve.

Ready to brighten your smile the right way? Book your professional whitening consultation with UNO DENTAL San Francisco today!
Manual review completed by the UNO DENTAL San Francisco clinical team.